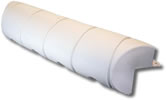
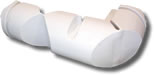
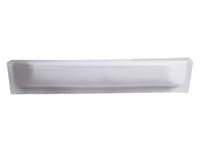
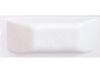
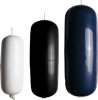
Direct Order Line 01803 835915 Featured Products - Dock & Quay Fendering         Highlighted Products A flexible fender with uses including bow fenders, dock fenders, fendering for pilings and posts, low freeboard fenders, swim platform fenders the list goes on and on! Dimensions 60cm x 30cm x 8cm. Ava ... £46.99 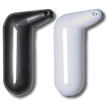 Sometimes known as "Bass boat fenders these are the perfect solution for low free-board boats, Dories and for protecting the gunwales from pontoons etc. Fender is 35cm long and the lip is 11cm long. ... £12.99 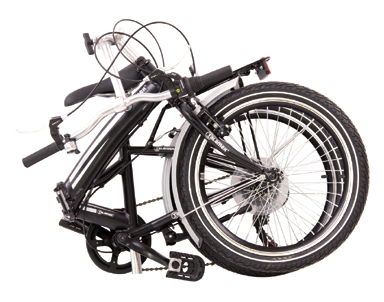 This extremely sturdy bike folds down in 3 easy steps leaving you with a compact 35 x80x75cm package which is perfect for onboard stowage. £450.00 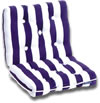 Comfortable, kapok filled cockpit cushions. Cotton cover with rope line. These will cushions will float (if dropped overboard!) and can be sponged (but are not machine washable). Each panel measures 36 ... £44.99  Anchor rings are small but very useful piece of kit.
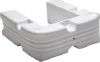
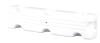
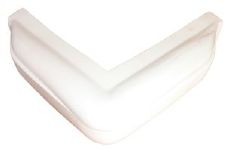
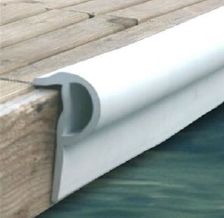
£16.99 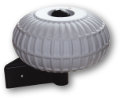 Designed for a 90 degree pontoon corner, this ingenious device allows your boat to roll past a corner without touching the pontoon. The sturdy bracket constructed from reinforced nylon and the wheel it ... £93.99 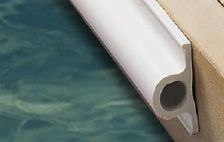 Size 1.828m (6 feet). Extruded Vinyl pontoon fender. 82.55mm drop x 38.09mm Easy to fit with self tapping screws. This fender can be cut down as required. £64.99 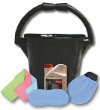 We know here at Compass that when your boat looks good, you feel good. So we have put together the ultimate cleaning kit which includes 1 x PVC bucket, 1 x micro fibre sponge and 1 x bottle of deck cl ... £29.99 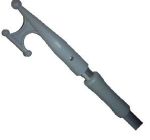 The Compass Marine boathook extends from 1.2m to 2.1m using a quarter turn of the handle. Will FLOAT if dropped overboard. £16.50 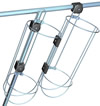 To fit:- Majoni Star 25, Drop 2, HD 2, Centre Hole 2 Polyform F1, G4, HTM1, Any brand fender with max diameter of 160mm Set comprises 2 x 170mm Fender Baskets 3 x 25mm / 30mm / 32mm Swivel Connectors 1pr x ... £105.94 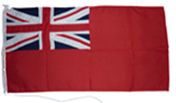 A superior quality, fully sewn ensign in100% heavyweight woven polyester, complete with wooden toggle. Size 3/4 Yard (68.58cms) Fly 68cm - Hoist 34cm For boats up to 27ft £39.99 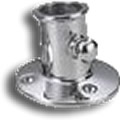 This neat little stainless steel flagpole holder can be screwed to the deck. It is suitable for 19mm flagstaffs which are held firmly in place by a small pressure screw on the side of the holder. £19.99  Length 2m with eye splice.
£2.99 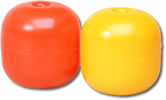 The Dura Float is a foam filled, hard shell buoy which can be used for an area that you wish to mark off. Swimming areas, rowing lanes, water ski courses and much more can be designated quickly and si ... £21.99 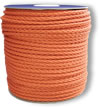 Our floating rope is 8mm polypropylene multi-filament, so it is strong and durable. Here available in reels of 500m and is a bright orange colour so is highly visible. Perfect for lane marking as wel ... £235.00  Length: 30m Material: Unwaxed plaited polyester Size: 1mm Colour: White £4.99 |